Table of Contents
ToggleA guest bathroom remodel doesn’t mean tearing down walls or moving plumbing lines. It’s about making smart updates that punch above their weight, swapping outdated fixtures, refreshing surfaces, and fixing the awkward layout choices that make visitors feel like they’re using a hallway closet with a toilet. Whether working with a tight budget or planning a deeper overhaul, the goal stays the same: create a welcoming, functional space that doesn’t look like it’s been ignored since 2008. This guide walks through practical remodel ideas organized by budget and complexity, with the kind of detail that helps a project stay on track.
Key Takeaways
- Guest bathroom remodel ideas range from budget-friendly paint and fixture swaps to major vanity and flooring upgrades, with most projects completable in a weekend or two.
- Paint in semi-gloss or satin finish, mirror upgrades, hardware swaps, and re-grouting tile deliver outsized impact at minimal cost and complexity.
- Modern vanity and storage solutions—including wall-mounted, freestanding, and pedestal options—set the bathroom’s tone and can be installed as DIY projects or by professionals in hours.
- Lighting should flank the mirror with warm-toned (2700K–3000K) sconces mounted at eye level to eliminate shadows and create an inviting space for guests.
- Durable flooring materials like porcelain tile and luxury vinyl plank, paired with neutral wall colors and consistent hardware finishes, create a fresh, cohesive guest bathroom that appeals broadly.
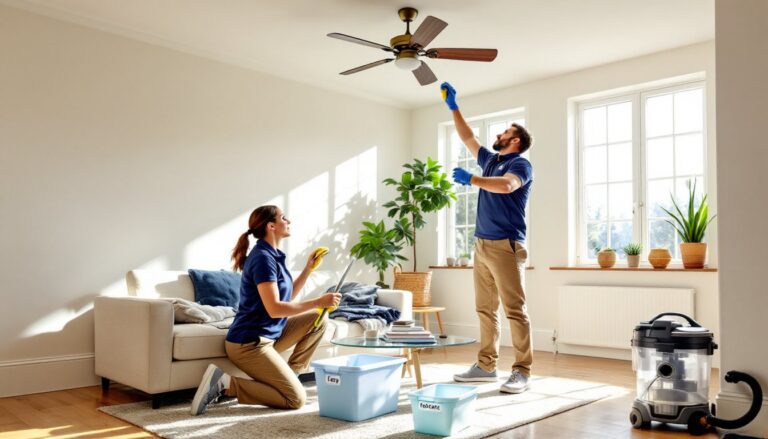
Budget-Friendly Updates That Make a Big Impact
Small changes can deliver outsized results when they target the right details. Start with paint, specifically, semi-gloss or satin finish in a neutral tone. These sheens handle moisture better than flat paint and wipe clean easily. Expect coverage of about 350–400 square feet per gallon for quality paint: most guest baths need less than a gallon for walls.
Swap out the mirror. Builder-grade plate glass mounted directly to drywall instantly ages a bathroom. Replace it with a framed mirror, either a ready-made unit from a home center or a DIY frame built from 1×4 primed pine and mitered corners. Use construction adhesive rated for moisture (like Loctite PL Premium) and finish nails to secure the frame over the existing mirror if removal risks damaging drywall.
Upgrade cabinet hardware. Knobs and pulls cost $3–$15 each, but they shift the entire look of a vanity. Measure the existing hole spacing (center-to-center for pulls) before buying. Standard spacing is 3 inches or 3.75 inches (96mm). If switching from knobs to pulls and holes don’t align, fill old holes with auto body filler, sand smooth, prime, and paint before drilling new ones.
Replace the toilet seat. It’s a $20–$50 fix that removes grime guests notice but don’t mention. Soft-close hinges eliminate the slam and feel more finished. Measure the bowl (round front is about 16.5 inches: elongated is about 18.5 inches) before shopping.
Re-grout or regrout tile. If tile is sound but grout is stained or cracked, raking out old grout with a grout saw and applying fresh grout (sanded for joints wider than 1/8 inch, unsanded for narrower) can refresh a shower or floor. Wear a dust mask or N95 respirator and eye protection, grout dust is silica-based and a respiratory hazard. Seal grout with a penetrating sealer after it cures for 72 hours.
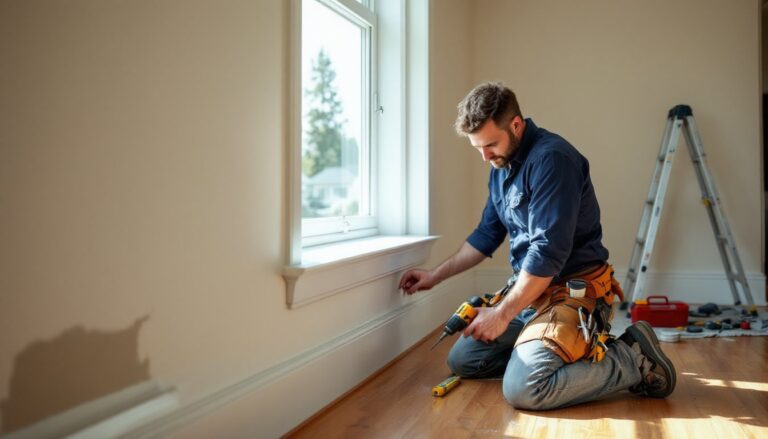
Modern Vanity and Storage Solutions
The vanity sets the tone for the whole bathroom. Replacing it is straightforward, most install in an afternoon, but involves shutting off water, disconnecting supply lines, and reconnecting a P-trap. If confident with a basin wrench and plumber’s putty, this is a solid DIY project. If not, a plumber can swap it in about two hours.
Wall-mounted vanities (floating vanities) make small bathrooms feel larger by exposing floor space. They require solid blocking behind drywall: if remodeling includes drywall work, install 2×6 or 2×8 blocking between studs at the height where the vanity will mount. Standard vanity height is 32–36 inches to the countertop: measure based on user comfort. Wall-mounted units can’t hide plumbing as easily, so plan for an attractive P-trap or wall escutcheons.
Freestanding vanities remain the easiest install. Standard depths run 18–21 inches: widths for guest baths typically land at 24, 30, or 36 inches. For tight spaces, a pedestal sink frees up floor area but sacrifices storage, fine if there’s a linen closet nearby, frustrating if guests have nowhere to set a toiletry bag. Vanities with integrated towel bars or side shelves split the difference.
Consider adding a recessed medicine cabinet if wall framing allows. These fit between studs (14.5 inches wide for standard 16-inch on-center framing) and add storage without eating into floor space. Cutting into drywall and framing requires a reciprocating saw, safety goggles, and attention to electrical or plumbing that might be hiding in the wall. Always check for wires with a stud finder that also detects live AC voltage.
Choosing the Right Vanity Style
Shaker-style cabinets suit almost any home, clean lines, recessed panels, and available in dozens of finishes. They’re safe if unsure about committing to a trend. Modern slab-door vanities (flat fronts, no raised panels) work well in contemporary spaces and tend to be easier to clean. Open-shelf vanities look great in photos but require discipline, they showcase whatever’s stored there, baskets included.
For a walk-in shower for small bathrooms, pairing a compact vanity with wall-mounted storage keeps the floor plan open. Material matters: solid wood or plywood construction with hardwood veneer lasts longer than particleboard, especially in moisture-prone areas. Check if the cabinet interior is finished or sealed, bare particleboard absorbs water and swells.
Flooring and Tile Options for Guest Bathrooms
Bathroom floors take a beating from water, foot traffic, and cleaning chemicals. The material needs to handle all three without warping or staining.
Porcelain or ceramic tile remains the gold standard. Porcelain is denser and more water-resistant: ceramic is slightly softer and easier to cut. Both install over cement backer board (not drywall or plywood alone) on the floor. Standard floor tile thickness is 3/8 inch: popular sizes include 12×12, 12×24, and hexagon mosaics. Use unsanded grout for joints under 1/8 inch, sanded grout for wider joints. A wet saw gives the cleanest cuts: a snap cutter works for straight cuts in ceramic, but porcelain often requires the wet saw. Rent one for about $50/day if not buying.
Luxury vinyl plank (LVP) or luxury vinyl tile (LVT) offers a budget-friendly alternative that mimics wood or stone. Modern LVP is fully waterproof (not just water-resistant) and installs as a floating floor with click-lock edges. No mortar, no grout, and most can go directly over existing vinyl or tile if the surface is level within 3/16 inch over 10 feet. Acclimate planks in the bathroom for 48 hours before install, vinyl expands and contracts with temperature.
Natural stone (marble, travertine, slate) delivers high-end looks but requires sealing and more maintenance. Certain stones etch from acidic cleaners. Installation costs run higher due to the skill needed for layout and cutting.
For walls, subway tile (3×6 inches) stays timeless and installs quickly. Running it in a brick pattern (offset by half a tile each row) or vertical stack changes the look without added cost. Large-format tile (12×24 or larger) minimizes grout lines, which means less scrubbing, but requires a flatter substrate and more careful layout. Many homeowners exploring ways to add visual interest consider options for grey bathrooms that incorporate different tile textures and finishes.
Always slope the shower floor toward the drain at a minimum of 1/4 inch per foot, this usually means using a mortar bed or pre-sloped shower pan. If cutting into a shower, this crosses into territory where a licensed contractor and possibly a permit are wise. Leaks behind tile cause expensive damage.
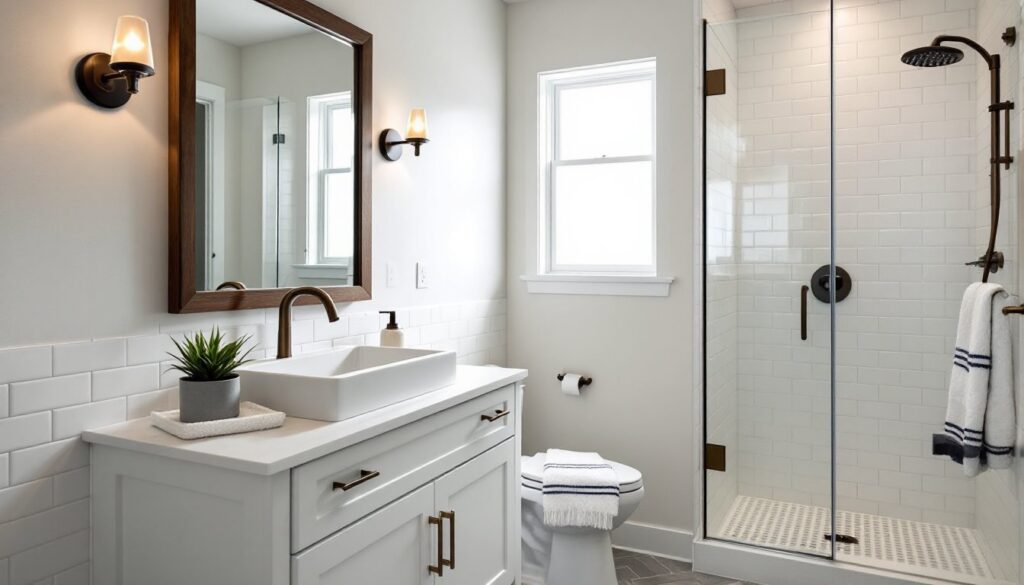
Lighting and Fixture Upgrades
Lighting makes or breaks a bathroom. A single overhead fixture casts shadows on faces, not ideal when guests are trying to shave or apply makeup.
Vanity lighting should flank or top the mirror. For the most flattering light, mount sconces on either side of the mirror at about 60–65 inches from the floor (roughly eye level). Space them 36–40 inches apart if the vanity width allows. Top-mounted bath bars work when side sconces aren’t an option, but mount them as close to the mirror as code allows to reduce shadows. Choose bulbs in the 2700K–3000K range (warm white) for a welcoming feel: higher Kelvins skew blue and clinical.
LED bulbs save energy and last years, but not all dim smoothly, check that bulbs are labeled “dimmable” if installing a dimmer switch. Switching to a dimmer requires turning off power at the breaker, removing the old switch, and connecting hot (usually black), neutral (white), and ground (bare copper or green) wires per the dimmer’s instructions. Use a non-contact voltage tester to confirm power is off before touching wires. If unfamiliar with electrical work, hire a licensed electrician, bathroom circuits often share a line with a GFCI outlet, and miswiring can trip breakers or create a shock hazard.
Recessed can lights (4-inch or 6-inch) provide ambient lighting and work well over showers if rated for wet locations (IC-rated if in contact with insulation). Installing new cans involves cutting drywall, running Romex cable, and possibly working in an attic or crawl space. Remodel-style housings mount from below and clip into the ceiling, making retrofit installs easier than new construction cans.
Exhaust fans aren’t glamorous, but they’re essential. Building codes (per IRC) typically require either a window or a fan rated for at least 50 CFM (cubic feet per minute) in bathrooms. Undersized or broken fans let moisture build, encouraging mold. Upgrading to a quiet model (measured in sones: 1.0 sone or lower is whisper-quiet) improves the experience. Installation involves ducting to the exterior, never into an attic, and wiring to a switch or timer. Pair it with a timer switch so guests don’t leave it running (or forget to turn it on). According to Remodelista’s guest bathroom remodel guide, thoughtful lighting choices contribute significantly to creating a functional yet inviting space.
Faucets and showerheads fall under fixtures but have outsized impact. Swapping a builder-grade chrome faucet for a brushed nickel or matte black unit changes the room’s personality. Most faucets use standard 4-inch centerset or 8-inch widespread configurations: measure the existing holes in the vanity or countertop before buying. Showerheads install tool-free in most cases, unscrew the old one, wrap threads with plumber’s tape (Teflon tape), and hand-tighten the new head. Low-flow models (2.0 GPM or less) save water without sacrificing pressure if designed well.
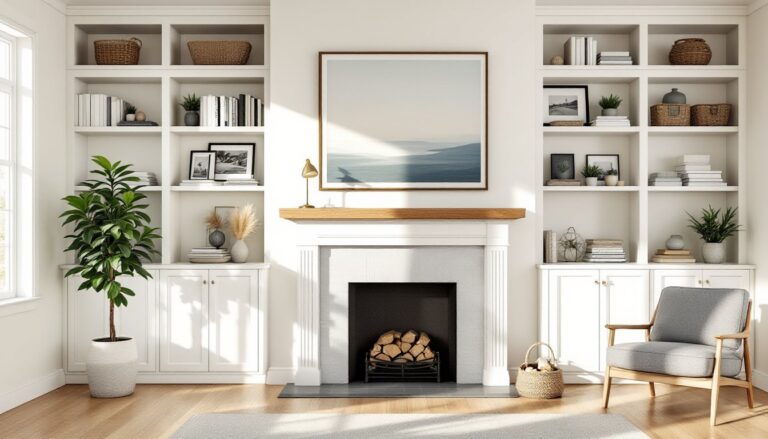
Color Schemes and Design Styles That Welcome Guests
Color and style set the mood. Guest bathrooms benefit from neutrals that appeal broadly, but that doesn’t mean boring.
Neutral palettes, whites, grays, beiges, soft greiges, create a clean backdrop that’s easy to accessorize. They also photograph well and increase appeal if selling the home. A common approach: white or light gray walls, slightly darker floor tile, and a pop of color in towels or hardware. Many design enthusiasts draw inspiration from sources like Homify, which showcases creative bathroom layouts and color applications.
Accent walls add interest without overwhelming a small room. Painting one wall a deeper tone (navy, charcoal, sage green) behind the vanity or using patterned tile (encaustic cement tile, geometric mosaics) creates a focal point. Limit bold patterns to one surface, floor or wall, not both, to avoid visual clutter.
Modern farmhouse style leans on white shiplap (or shiplap-look wall paneling), matte black fixtures, and natural wood accents. It’s approachable and stays current. Contemporary minimalist uses clean lines, floating vanities, large-format tile, and limited ornamentation. Traditional bathrooms feature furniture-style vanities, framed mirrors, and classic subway or basket-weave tile patterns.
For double vanity ideas for small bathrooms, careful color selection helps prevent the space from feeling cramped even though added fixtures. Hardware finish ties the look together, brushed nickel, oil-rubbed bronze, chrome, matte black, or brass. Pick one finish and use it consistently for faucets, towel bars, cabinet pulls, and light fixtures. Mixing metals can work if deliberate (e.g., black faucets with brass accents), but three or more finishes usually look chaotic.
Paint sheen matters in bathrooms. Semi-gloss or satin resists moisture and cleans easily: flat or matte paint shows scuffs and doesn’t hold up well near sinks or tubs. If painting over existing gloss, lightly sand or use a bonding primer so the new coat adheres.
When planning broader bathroom transformations, homeowners often look to resources like ImproveNet for cost estimates and contractor referrals. Grout color can be subtle or bold. White grout on white subway tile is classic: dark grout (charcoal or black) hides staining and adds contrast. Grout does require sealing to prevent moisture penetration and staining, apply a penetrating silicone sealer after grout has cured fully.
Conclusion
A guest bathroom remodel doesn’t have to mean months of construction or a second mortgage. Targeting the right updates, vanity, lighting, flooring, and finishes, delivers a space that feels fresh and intentional. Whether working with a weekend and a few hundred dollars or committing to a full gut, the key is planning the sequence, respecting the limits of skill and time, and knowing when to call in a pro. The result is a bathroom guests actually want to use.